How to Make a Kilt – A Beginners Guide – 2025
Choose The Fabric
The first and foremost step while making a kilt is to choose the tartan. As discussed earlier, people are known to have a specific tartan that connects them to a clan. These people share almost 20% of Scotland’s population. If you are from them, choose the tartan accordingly.
No problem if you belong to the rest of the people and don’t know what clan you follow. Use the tartan database system or check your family tree; it will help you find your clan or the tartan. If you are still confused, don’t worry since there is another solution. There are some universal tartans that everyone can wear.
Get The Accurate Measurement
We already told you to keep some essentials with you. Pick the tape and get an accurate measurement of yourself. Getting help from somebody is better because doing it alone might be challenging and increases the chances of mistakes.
This is a prime step since your comfort level while wearing a kilt depends on it. A bit of carelessness can be costly. Start measuring from the waist. Get your size from the top of the hip bone in a standing posture, leaving your body free.
Measure your seat/hips. This measurement is often loose from the waist and above the jeans. Be sure your pockets are empty since a short mismeasurement can make your efforts useless.
The final calculations also need some concentration. It is to measure your knee length. Hold the measuring tape at the waistband and take it to the middle of the kneecap. Ensure you have taken all the measurements carefully and noted them on paper.
Make The Pleats
It’s time to discuss the technical and practical work of making pleats. What are pleats? They are the foldings on the backside of your kilt and sometimes on the side of kilts to ease the movement.
You must have seen the cards expended on a deck. Kilt pleats look the same. Take the tartan and start making pleats with appropriate measurements.
While making pleats, you must fold them first. Each folding should be 8 inches with double pleated tartan. Sew the pleats with a blind stitch. Begin from the hip. The distance between the edge and the thread should be half an inch.
When you’re finished, position the kilt to expose the upper portion. Three threads should be used to pass through this material. Approximately ten stitches per inch will result from this. Cut out any extra material from your pleats once you’re finished sewing. Your kilt will have a lovely shape as a result.
Attach A Waistband
When you finish making kilt pleats, the next step is to create a waistband. You need a matching tartan to make it. Get a piece of tartan. Be careful when getting tartan for length; it must be according to the size of the apron from its top edge. Attach it to the kilt after its preparation.
Sew The Lining
The process of making a kilt has gotten up to the waistband, so now it’s time to attach the lining. Do you know what is lining? The lining is a protection made of cloth and works as a soft obstacle between the kilt and your skin to prevent you from any itching or other displeasure.
Get a piece of duck cloth or cotton to make the lining. Make three sections of it, and every section must be according to the size of your waste. Now, wrap these duck cloth linings and sew them all. Fix them properly and stitch them from the upper side only.
Add Leather Straps
Have you attached the lining to the inner side of the kilt? That’s great! You need leather straps to fasten the kilt. Kilts usually have 3 straps, 2 on one side and 1 on the other. They are adjustable in size.
So, how to add leather straps? Your straps should be according to your waist length. Sew them inside the kilt. Make some holes in the straps to fasten them.
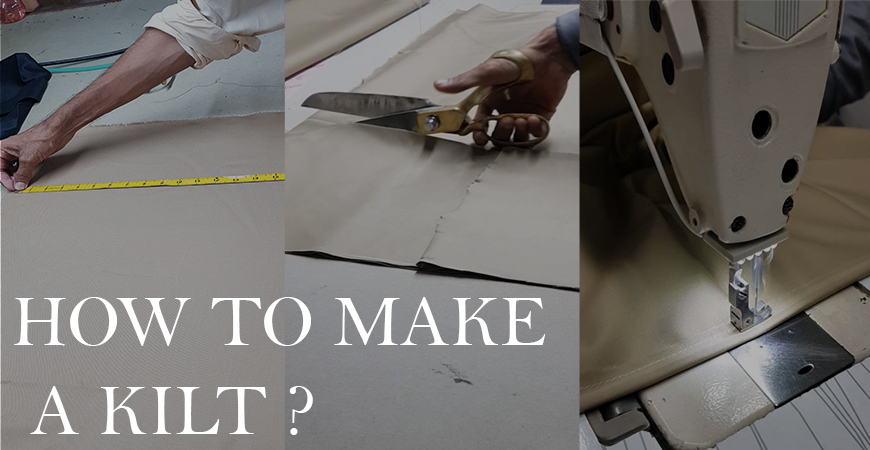
Behind the Scenes: How We Make Kilts at TUK
Making something for the first time is always challenging. You need to practice it repeatedly for perfection. Likewise, you need to work and be patient while making a kilt. Rushing to become an expert leaves you at a loss. So, understand everything and then start crafting your kilt.
Before you start the process, get some tools like measurement tape, scissors, belt loops, buckles, and straps. Having these essentials will make the process smooth and save you time.
BUY NOW
The first edition of kilts was the tartan kilt, which appeared in the 16th century. The upcoming eras witnessed various transformations and shapes. Moreover, kilts are available in different types nowadays.
- The Great Kilts
- Sport Kilts
- Military Kilts
- Casual Kilts
- Modern Kilts
- Utility Kilts
A kilt is a part of traditional Scottish attire. We see people wearing them, but we need to consider people’s efforts while crafting kilts. To experience this process, we told you some common steps and asked you to follow them. Remember, kilt-making might be difficult for you. Following these guidelines, you can now easily make the kilts. How to Make a Kilt for a Man – A Beginners Guide – 2025